
Have you ever handed over a finished project and received complaints about a defect in the finish? You are not the only one to whom this has happened. Moreover, there are countless similar experiences that occur in the real estate sector.
This, without a doubt, causes frustration due to the consequences it entails: delays, additional expenses, and possible fines, among other problems that you do not want to have. However, those who are part of this industry know very well that there are challenges and unforeseen events that must be resolved promptly.
To avoid such situations, the audiovisual inspection of the final finishes is a crucial phase prior to delivery of the project that can determine its proper completion or, otherwise, show that it has flaws. That is why it is one of the processes that can not be missed when reviewing the state of the property.
And once the gray work is approved, one of the most important moments that gives style to the property being built arrives: the final finishes. These protect the surfaces and are the elements that provide the desired aesthetics. Therefore, the floor, wall paint, bathroom tiles, moldings, windows, and even decorative accessories must be in excellent condition before the work is delivered.
With this objective in mind, the final finishing inspection is carried out. A job that requires time, experience, observation skills, and knowledge of construction. However, in order to carry it out, usually face-to-face visits are scheduled, which can mean a great effort in logistics because, in most cases, just setting the day and time and organizing the displacement is complicated to coordinate.
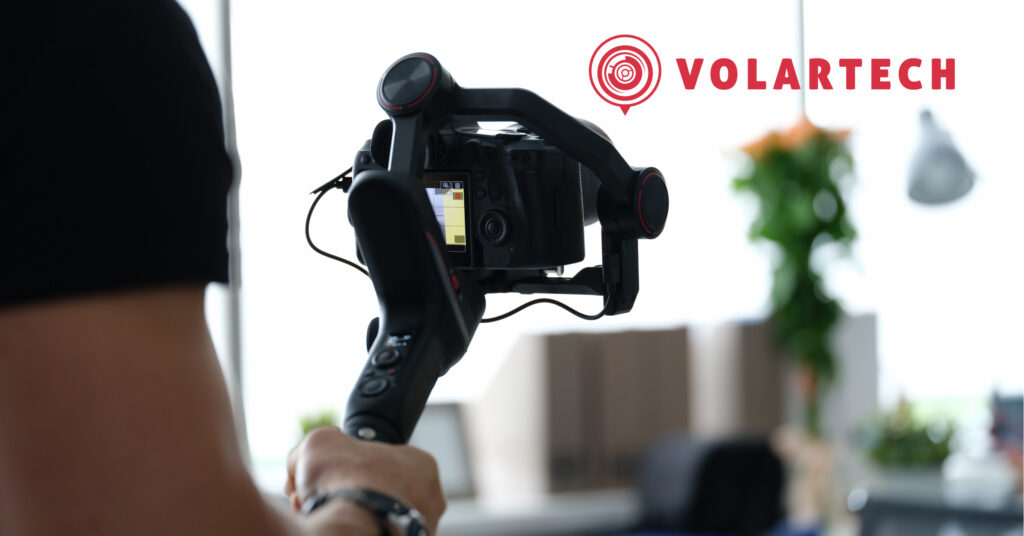
However, the good news is that the audiovisual inspection of final finishes can also be done remotely, thanks to state-of-the-art technological tools such as drones and 24/7 cameras, which are of the highest quality and can capture 360° images and videos. Therefore, if you need to inspect a property away from your location, you can easily do it from wherever you are.
5 essential steps for a proper finish inspection
- Plan the inspection in advance so that you have the appropriate time and space. This allows you to go through the process with precision and attention to detail so that you don’t overlook any imperfections or errors that were missed earlier.
- Make a checklist of the items you will need to refer to for a proper inspection, including project requirements, quality standards that must be met, and construction drawings. In this way, you can be sure to check each space and verify that it is in good condition.
- Prepare the tools that will help you document the inspection. If you have high-definition cameras, drones, or any other tool that can help you proceed with the review, make the most of them. Remember that they must be of good quality so that you can zoom in on the areas that concern you.
- Start the tour and be sure to document each space. Be meticulous and make sure that everything you inspect is recorded on camera, whether in photo or video. This material will serve as support to demonstrate that you are delivering the project in optimal conditions. Then, if after the inspection there are any complaints, you will have a backup that will prevent you from incurring additional expenses.
- Once the inspection is finished, prepare a report in which you write down the state in which the final finishes and the accessories that have been installed were delivered. Remember also to record the findings and describe very well each imperfection or error found. You should also include your recommendations for corrective action to address the defects you detected so that the team can proceed with the necessary adjustments to make the handover.
You are now ready to make a successful final finishes inspection! If you do not have the time or material resources to do it, In Volartech we can support you with our specialized equipment. Contact us here and let us help you.